
- Coverage119 ZIP codes · 2 counties
- HoursOpen 24/7
Range & Stove Repair Near Me, Across Long Island
How the visit is charged
The diagnostic fee is credited against the repair
Answered 24/7Three-hour arrival window90-day parts warranty
- Diagnosis
- The fault is found before anything is quoted
- Approval
- Work starts only after your yes
- Hours
- Phones answered 24/7
- Warranty
- Parts 90 days · labor 30 days
Request a Repair
Two short steps. No cost and no obligation to book.
- Answered 24/7
- 3-hour arrival window
- Price approved first
- EPA 608 refrigerant handling
- 90-Day Parts & 30-Day Labor Warranty
- Open 24/7
- 119 ZIP codes covered
The range & stove in figures
- Usual visit length
- 1–2.5 hours
- Faults on file
- 65
- Makes we work on
- 31
Anatomy · Range & Stove
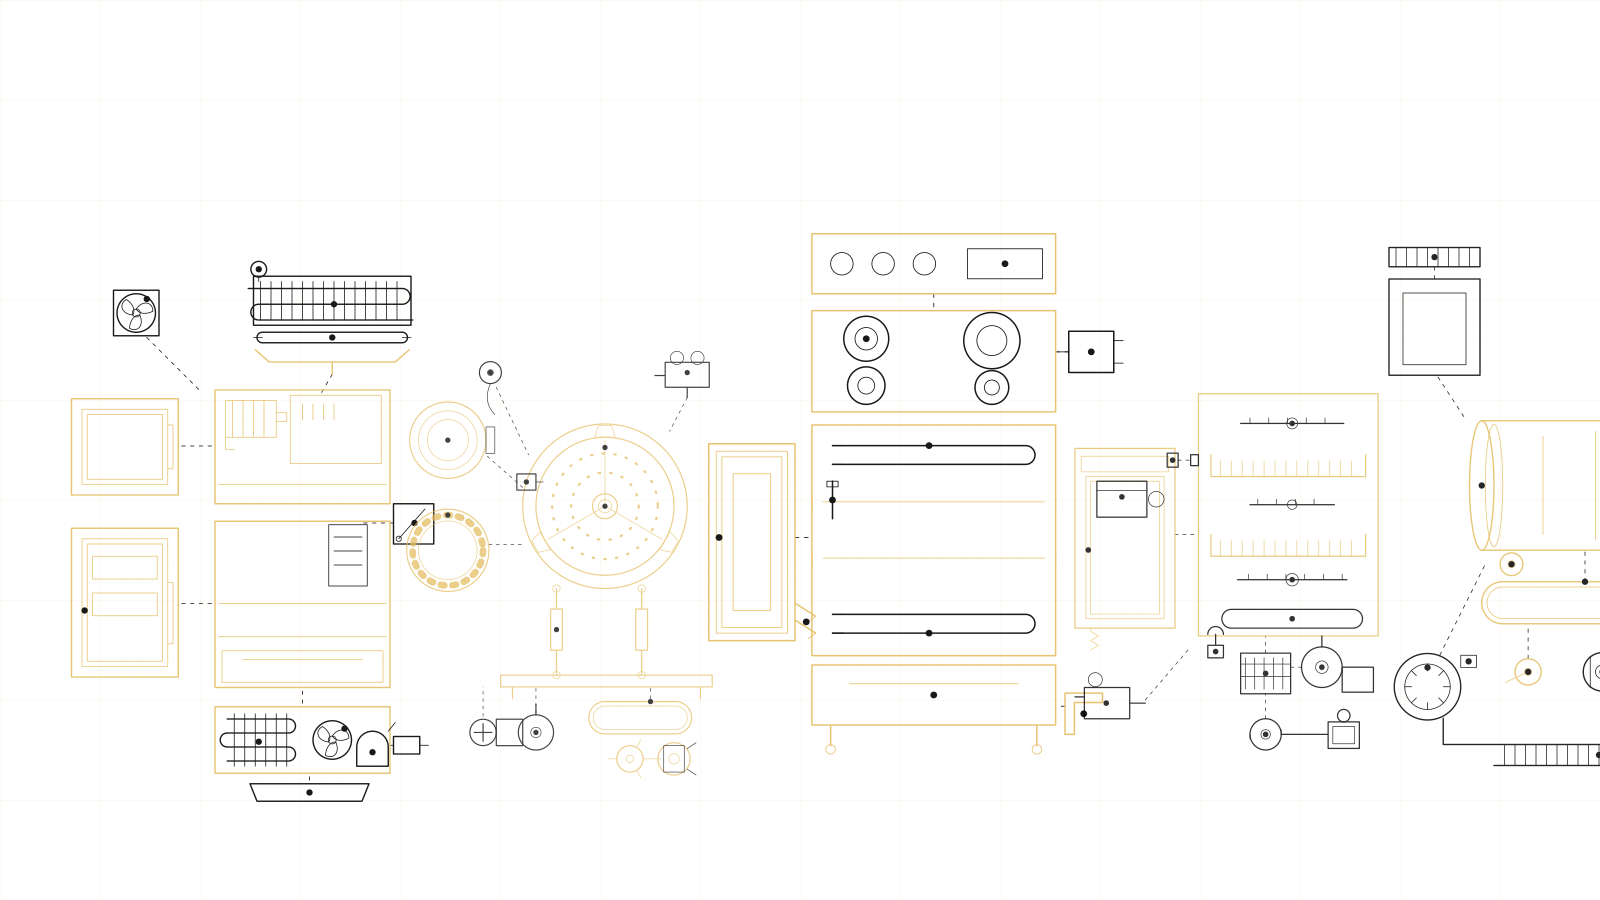
The parts of a range & stove that wear out first
- 01Surface elementsA single dead zone, or front elements heating while the rear pair stays cold, points to the element or its switch.
- 02Surface element switchThis infinite switch sits behind the knob; with burnt contacts the zone stays on high or stays dead at every setting.
- 03Broil elementSelf-clean puts its heaviest load on this element, which is exactly when it tends to fail.
- 04Bake elementBreaks are usually easy to see, and an exposed or drooping element can also arc against the oven floor.
- 05Oven temperature sensorA high reading makes the oven run cool and a low one makes it run hot; check the calibration offset before replacing the sensor.
- 06Oven door gasketHeat leaking around the door is why the cooktop surface gets hot and the oven never holds steady.
- 07Door hingeA sagging hinge opens a gap along the top of the door, and the gasket ends up blamed and replaced twice over.
- 08Control board and knobsMounted in the backguard over the hottest part of the range, it is frequently damaged when the oven vent is blocked.
- 09Warming / storage drawerIf it rubs or stands proud, the cabinet has usually been twisted by an uneven floor; the drawer itself is rarely at fault.
- 10Anti-tip bracket and levelling legsEssential, not an accessory. An unlevel range bakes lopsided, and without the bracket engaged it can topple forward onto an open door.
Sequence of checks
Where a technician starts on a range & stove
- What we test, in turn
- the cooktop and the oven are diagnosed as separate systems — beyond a shared cabinet and control panel they have little in common, so a fault in one seldom accounts for a fault in the other
- The symptom owners misjudge
- an oven temperature complaint pinned on the thermostat when the door gasket or hinge springs have failed and heat is escaping faster than the element can replace it
- Why Long Island matters here
- professional ranges in the estate and custom kitchens of the North Shore and East End, designed to be rebuilt and economic to repair decades after a mass-market range would have gone to the curb
Fault register · 65 entries
The range & stove failures behind most of our calls
01
Oven Producing No Heat
Priority: mediumThe oven accepts a temperature and may show it is preheating, but the cavity stays cold. On electric ranges the bake element or its supply has failed; on gas ranges the igniter or safety valve is not letting the burner light.
- Likely origins
- bake element burned open · weak gas oven igniter · failed oven safety valve · temperature sensor fault stopping the heat · control relay not closing
- The fix
- We check whether the control is calling for heat by measuring at the element terminals or the igniter circuit. If power arrives, the element, or the igniter and valve, are tested directly; if not, the sensor and control relay are examined. The element, igniter, valve, sensor or relay at fault is renewed. A timed preheat is recorded with an independent probe to confirm normal heating.
02
Surface Burner Producing No Heat
Priority: mediumOne surface burner or element produces no heat while the others work. On gas, no gas is reaching the burner even though the knob turns; on electric, power is not reaching the element.
- Likely origins
- gas valve for that burner not opening · orifice fully blocked · element burned open · infinite switch failed · wiring broken between switch and element
- The fix
- We establish whether the burner is gas or electric and test the supply to it: gas flow at the orifice, or voltage at the element. The valve, orifice, switch or element is tested in turn. The failed part is replaced and gas joints leak-tested where disturbed. The burner is run at low and high to confirm full operation.
03
Gas Burner Clicking Without Lighting
Priority: mediumThe igniter sparks at a burner but the gas does not catch, or catches only after several seconds. The spark and gas are not meeting where they should.
- Likely origins
- cap misaligned after cleaning · ports clogged by spills · electrode wet or dirty · cracked electrode insulator · low gas flow at the orifice
- The fix
- We watch the spark in low light with the cap removed, then clean the ports and electrode and check the insulator. The cap and head are seated on their locating features and the orifice checked. A damaged electrode is replaced. The burner is lit repeatedly from cold to confirm prompt ignition.
04
Gas Smell Around the Range
Priority: criticalA brief smell as a burner lights can be normal. A smell that lingers, appears with everything off, or strengthens means gas is escaping somewhere.
- Likely origins
- flexible connector loose or aged · leaking burner or oven valve · regulator seal failure · burner left slightly on · oven burner slow to ignite
- The fix
- If the smell is strong, leave the house without operating switches and call the gas utility from outside. Once the home is safe, we leak-test the connector, shut-off valve, regulator, manifold and valves with solution and a detector, and time oven ignition. Leaking fittings, valves or a regulator are renewed. Every joint is retested before the range is used again.
05
Electric Element Not Heating
Priority: highA coil or radiant element on an electric range stays cold while the others heat. The element, its switch, its socket or a connecting wire has failed.
- Likely origins
- element open · failed infinite switch · burned coil socket · loose terminal · broken wire
- The fix
- With the breaker off, we measure the element and inspect its terminals, then test the infinite switch and the wiring between them. On coil tops the socket is checked for arcing. The failed part is replaced and burned wiring renewed. The element is cycled from low to high to confirm it heats and regulates.
06
Range Control Board Fault
Priority: highThe range heats erratically, ignores commands, shows a fault or continues heating after it is switched off. A relay or circuit on the main control has failed.
- Likely origins
- welded relay · heat damage from a failed cooling fan · moisture on the board · power surge · failed keypad feeding false inputs
- The fix
- If the oven keeps heating after it is switched off, turn off the range at the breaker. We test the board's inputs and outputs and the keypad so that a sensor or keypad fault is not mistaken for a board failure. The board is replaced, and the cooling fan confirmed. Every function is tested before we leave.
07
Oven Temperature Off From the Setting
Priority: mediumFood takes noticeably longer or shorter than the recipe states, and an oven thermometer disagrees with the setting by more than fifteen degrees. The oven regulates steadily, but around a target that has drifted.
- Likely origins
- sensor drifting · calibration offset changed · sensor touching the oven wall · worn door gasket · control misreading the sensor
- The fix
- We log cavity temperature with a calibrated probe across several heating cycles, since one reading says little, and test the sensor against the manufacturer's resistance chart. Where the sensor is sound, the control's calibration offset is adjusted; where it has drifted, it is replaced. A follow-up log should then show the cavity centered on the selected temperature.
08
Oven Dead While the Cooktop Works
Priority: highThe surface burners or elements work normally, but the oven shows nothing, or its controls respond without any heat. The oven circuit has lost power independently of the cooktop, often through a thermal fuse or a control fault.
- Likely origins
- oven thermal fuse open after overheating or self-clean · control board relay failed · door lock stuck engaged · oven wiring burned at the terminal block · temperature sensor open
- The fix
- We check the door lock position and any lockout, then trace power to the oven circuit through the thermal fuse, terminal block and control relays. A blown thermal fuse is treated as a sign of overheating, so the cooling fan and sensor are tested too. The failed parts are replaced. The oven is taken through bake and broil to confirm both work.
09
Element Switch Not Regulating
Priority: mediumThe element heats only on high, will not heat at all, or ignores the knob. The infinite switch cycles power to the element and has worn or burned contacts.
- Likely origins
- burned switch contacts · failed bimetal inside the switch · loose terminal · knob shaft worn · heat damage
- The fix
- We measure the switch's output at each setting with the element connected, and inspect its terminals for discoloration from heat. A failed switch is replaced and its wire connectors renewed where they have burned. The element is then watched cycling from low to high, confirming the switch now regulates power as the knob is turned.
10
Oven Door Hinge Broken
Priority: mediumThe oven door sags at one corner, will not close squarely, or drops open when released. A hinge or its counterbalance spring has broken or worn, and the door, which is heavy, can fall suddenly.
- Likely origins
- broken hinge spring · worn hinge · bent hinge arm · stripped mounting screws · heavy weight on the open door
- The fix
- We support and remove the door, then inspect both hinges, their springs and the receivers in the frame. Hinges are replaced as a matched pair, and bent or worn receivers repaired. The door is rehung and checked for an even seal against the gasket and a secure hold at its partly open stop position.
11
Self-Clean Not Completing
Priority: mediumThe self-clean cycle will not start, the door will not lock for it, or the cycle stops partway through. The range will not allow such high temperatures unless the lock, sensor and control all report correctly.
- Likely origins
- door lock motor fault · lock switch fault · temperature sensor fault · control board fault · door not fully closed
- The fix
- We run the self-clean sequence and watch the lock motor and lock switch signals, which shows exactly where the control stops. Sensor resistance and thermal fuse continuity are checked as well. The lock, sensor, fuse or control that failed is renewed. A short self-clean start and cancel confirms the lock engages, the cycle begins, and the door releases afterwards.
12
Preheat Taking Much Too Long
Priority: mediumThe oven takes twenty-five minutes or more to reach temperature, where once it took ten or twelve. Heat output has fallen or heat is escaping.
- Likely origins
- weakening bake element · weak gas igniter delaying ignition · door gasket worn · hidden element failed · one leg of the electrical supply missing
- The fix
- We time a preheat while measuring element current or igniter delay, and check the gasket for gaps. On electric ranges, supply voltage is measured on both legs. The weak part is replaced or the supply issue identified. A timed preheat confirms the oven reaches temperature within the expected time.
13
Broil Element Not Glowing
Priority: mediumThe upper element stays dark when broil is selected. The element has burned through, its terminals have failed, or the control is not supplying power.
- Likely origins
- element burned open · terminal connection burned · broil relay failed · grease damage to the sheath · wiring damaged at the cavity rear
- The fix
- With the breaker off, we measure the element and inspect its terminals at the rear wall. If the element is sound, the control's broil output is tested. The failed element, terminals or relay is replaced. A broil cycle confirms an even glow along the whole element.
14
Convection Fan Not Turning
Priority: mediumWith convection selected, the fan at the back of the cavity does not turn, and food cooks like a standard bake or browns unevenly. The motor or its control has failed.
- Likely origins
- fan motor failed · seized motor bearings · blade loose on its shaft · relay on the control not closing · door switch stopping the fan
- The fix
- We check for power at the fan motor during a convection cycle and test the motor windings and bearings. The door switch, which stops the fan when the door opens, is tested. The failed motor or relay is replaced and the blade secured. A convection bake confirms the fan runs and food browns evenly.
15
Control Knob Not Clicking Into Positions
Priority: mediumA knob turns loosely, skips settings or no longer stops at off. The knob, its shaft or the switch or valve behind it has worn.
- Likely origins
- worn knob insert · stripped switch or valve shaft · detent spring in the switch worn · knob from a different model · switch cracked by heat
- The fix
- We remove the knob and inspect its insert and the shaft behind it, then check the switch or valve detents by turning the shaft directly. A worn knob is replaced; a worn switch or valve is replaced and gas joints leak-tested. Each knob is turned through every position to confirm a clear off and positive settings.
16
Both Rear Burners Not Working
Priority: highThe front burners work but both rear burners are dead. A shared component, such as a supply line, spark circuit, wiring harness or switch feed serving the back of the cooktop, has failed.
- Likely origins
- shared harness damaged at the rear · rear burner supply manifold restricted · spark module output for the rear electrodes failed · rear element wiring burned at the terminal · switches sharing a failed feed
- The fix
- We test whether the rear burners receive gas or power, then trace the shared supply back from them. On gas ranges the manifold and spark circuit are checked; on electric ranges the rear wiring and switch feed. Burned wiring or failed parts are replaced. Each rear burner is then run at low and high.
17
Front Burners Hotter Than the Rear
Priority: lowThe front burners boil water far faster than those at the back. On many ranges this is by design, as front positions carry higher-output burners, but a rear burner well below its rating has a fault.
- Likely origins
- burners of different ratings by design · rear orifices partly blocked · rear caps misaligned · rear burner heads damaged · rear burners fitted with incorrect orifices
- The fix
- We look up the rated output of each burner position and compare flame height and boil times. Rear orifices and ports are cleaned, caps reseated and damaged parts replaced. Orifices are checked against the gas type. We explain the design differences and confirm each burner performs to its own rating.
18
Range Sitting Out of Level
Priority: lowOil runs to one side of the pan, cake batter sets thicker at one edge, and the oven door may not close evenly. The range is tilted because a floor is uneven or a levelling leg has moved.
- Likely origins
- levelling leg not adjusted after installation · floor uneven or sloping · leg pushed in when the range was moved · anti-tip bracket lifting one corner · damaged leg thread
- The fix
- We check level across the cooktop and front to back with a spirit level, then adjust each leg so the range sits evenly on the floor. A damaged leg is replaced. The anti-tip bracket is checked so it engages without lifting the range. Level is confirmed again, and a pan of oil on each burner shows it now spreads evenly.
19
Error Code During Self-Clean
Priority: mediumA lock or temperature code appears during or just after a self-clean cycle. The extreme heat of self-clean exposes weak sensors, door locks and wiring that cope at normal baking temperatures.
- Likely origins
- door lock switch fault · sensor reading high · thermal fuse open · control board fault · wiring heat-damaged
- The fix
- We read the code against the model's service data, then test the door lock switch, the temperature sensor and the wiring behind the cavity for heat damage. Whichever component has failed is renewed and the thermal fuse checked. The control is reset, and a bake cycle confirms the code does not return in normal use.
20
Bake Element Not Fully Seated
Priority: highThe bake element has dropped from its brackets, its terminals have pulled forward from the rear wall, or a hidden element's cover is loose. Contact with racks or pans can cause arcing.
- Likely origins
- mounting screws loose · element dislodged when racks were removed · terminals not pushed fully through the rear wall · bracket bent · element replaced without securing it
- The fix
- Switch off the oven at the breaker until the element is secured. We remove the element, inspect the terminals and wiring behind the rear wall for heat damage, and refit it fully seated with its screws and brackets. Damaged terminals or a scorched element are replaced. A bake cycle confirms even heating with the element secure.
21
Meat Probe Jack Broken or Faulty
Priority: lowThe temperature probe socket in the oven wall is damaged, or the control reports the probe when none is fitted. A broken jack can also keep the oven from starting on some models.
- Likely origins
- jack cracked or burned · probe cable damaged · jack wiring shorted by heat · grease in the socket · control fault
- The fix
- We test the probe and the jack separately, checking resistance at room temperature and inspecting the socket and its wiring behind the cavity wall. A damaged probe or jack is replaced. The control is checked to confirm it recognizes the probe when fitted and ignores it when not.
22
Backguard or Control Panel Loose
Priority: mediumThe backguard or control panel at the back of the range has come loose, rattles or leans forward. The fixings have loosened or a bracket has broken.
- Likely origins
- mounting screws loose · bracket cracked · panel damaged when moving the range · heat warping plastic parts · clips broken
- The fix
- We remove the backguard or control panel and inspect its brackets, screws and clips, along with the wiring behind it for heat damage or strain. Broken brackets and clips are replaced and the panel refitted securely to the chassis. Each control behind it is then tested to confirm nothing was disturbed by the movement.
23
Warming Drawer Not Sliding Straight
Priority: lowThe warming or storage drawer catches, sits crooked or will not close flush. A runner has bent, a roller has broken or the drawer has come off its track.
- Likely origins
- drawer off its glides · bent runner · broken roller · heavy items overloading the drawer · range out of level
- The fix
- We remove the drawer and inspect its glides, rollers and the frame they ride on. Bent runners are straightened or replaced and broken rollers renewed. The range is checked for level. The drawer is refitted and opened and closed several times to confirm smooth travel and a flush close.
24
Range Installed Incorrectly
Priority: highThe range shows problems traceable to installation, such as poor gas flame from a kinked connector, a missing anti-tip bracket, an incorrect gas conversion or a cord that is not secured.
- Likely origins
- anti-tip bracket missing · connector kinked or wrong length · incorrect gas conversion · electrical cord not secured with strain relief · range not level
- The fix
- We inspect the installation against the manufacturer's instructions, including the gas connection, conversion, cord, bracket and level. Errors within the appliance are corrected and gas joints leak-tested. Where household gas or electrical work is required, we explain what is needed. The range is tested across all burners and oven modes.
Further entries on file · 41
- Gap Beside a Slide-In Range
- Levelling Legs Hard to Adjust
- Oven Running Far Hotter Than Set
- Gas Oven Igniter Glowing Without Lighting
- Gas Oven Safety Valve Not Opening
- Oven Temperature Swinging Widely
- One Oven of a Double-Oven Range Not Working
- Electric Range on One Supply Leg
- Range Tripping Its Breaker
- Bake Element Arcing or Sparking
- Oven Door Glass Shattered
- Oven Door Locked Shut
- Dual-Fuel Range With a Cold Electric Oven
- Scorched Range Cord or Receptacle
- Oven Burner Burning Yellow and Sooting
- Carbon Monoxide Alarm When the Range Runs
- No Burner Sparks at All
- Flame Weak on One Side of the Burner
- Burner Caps Fitted to the Wrong Burners
- Yellow Flame on a Single Burner
- Low Gas Pressure at Every Burner
- Igniters Dead Because the Stove Has No Power
- Oven Knob Turning Without Effect
- Thermocouple Not Holding the Gas Valve Open
- Turning One Knob Sparks or Lights Another Burner
- Pressure Regulator Failing
- Burner Cap Cracked or Chipped
- Standing Pilot Light Out
- Burner Lights, Then Goes Out
- Sparking Continues After the Burner Lights
- Burner Lighting With a Pop
- Cracked Spark Electrode
- Burner Orifice or Venturi Blocked
- Burner Will Not Hold a Low Simmer
- Knob Spinning Without Turning the Valve
- Burner Flames Blowing Out
- Element Stuck at Full Heat
- Coil Element Socket Burned
- Gas Connector Kinked Behind the Stove
- Anti-Tip Bracket Missing
- Slight Shock When Touching the Stove
Next step
Sounds like your machine?
A person picks up day or night, seven days a week.
Platforms · 31
Makes of range & stove on our books
These 31 names genuinely produce a range & stove; a pairing that was never manufactured has no page here.































Specification
Range & Stove work, measured
- 1–2.5 hours
- Usual visit length
- 31
- Brands we repair
- 119
- ZIP codes covered
Consumable and protective parts
On a range & stove: Oven Producing No Heat · Surface Burner Producing No Heat · Electric Element Not Heating · Oven Temperature Off From the Setting
Motors, pumps and mechanical assemblies
On a range & stove: Oven Producing No Heat · Surface Burner Producing No Heat · Gas Smell Around the Range · Range Control Board Fault
Control electronics and boards
On a range & stove: Oven Producing No Heat · Range Control Board Fault · Oven Dead While the Cooktop Works · Self-Clean Not Completing
Service areas
Towns we cover for range & stove repair
- Great Neck
- Mineola & Garden City
- Hempstead
- Floral Park & Franklin Square
- Freeport & Baldwin
- Hewlett & East Rockaway
- Lynbrook & Rockville Centre
- Glen Cove
- Merrick & Bellmore
- Roslyn
- Westbury
- Bethpage & Farmingdale
- Hicksville
- Levittown & Wantagh
- Massapequa & Seaford
- Oyster Bay & Syosset
- Babylon & Lindenhurst
- Bay Shore & Islip
- Brentwood & Central Islip
- Commack & Deer Park
- Huntington
- Northport & Kings Park
- Lake Grove & Hauppauge
- Farmingville, Holtsville & Medford
- Patchogue & Sayville
- Bellport & Brookhaven
- Port Jefferson & Stony Brook
- Rocky Point & Wading River
Range & Stove · Long Island
Servicing the range & stove on Long Island
PrimeFix provides range & stove repair throughout Long Island — Nassau and Suffolk County — across 28 service areas and 119 ZIP codes, for all 31 manufacturers that genuinely make range & stoves. Expect around 1–2.5 hours on site for a typical job, with the diagnosis counted in that time.
The range & stove symptom that misleads most
Whatever the brand, the range & stove problem most frequently misjudged is an oven temperature complaint pinned on the thermostat when the door gasket or hinge springs have failed and heat is escaping faster than the element can replace it. Getting it wrong matters, because a mistaken reading leads to a mistaken part, and on a range & stove that part is often the costliest in the machine.
Preparing for the technician's visit
Three free steps make a Long Island appointment quicker and less expensive. Find the model number — printed on a label inside the door frame, behind the toe kick or on the rear of the cabinet — and send a photo of it when you book. Clear the area in front of the appliance, along with anything that has gathered beside it. And if there is water in the machine, leave it rather than bailing it out, because that water is evidence.
What you should avoid is taking it apart beforehand. An appliance handed over in pieces takes longer to diagnose than an intact one, because the technician must first work out what is original and what has been disturbed. If a part has already been changed, tell us — that helps, and nobody will judge you for it.
Warranties, recalls and when you should call someone else
Some Long Island calls are ones where, honestly, you do not need a technician. A condensation-drying dishwasher leaving plastics damp, a refrigerator running harder in July than in February, a front-loader that smells because its door is always shut — these are designed behavior or maintenance habits, not faults.
We tell you so on the phone when the description makes it obvious, and in person when it only becomes obvious on site. A diagnostic visit that concludes "nothing is broken; here is what to change" counts as a success, and it costs far less than the repair someone else might have sold you.
Book a visit
Describe the machine, then add contact details. Booking is free and places you under no obligation. You can also phone (631) 729-9995 and a dispatcher will note everything for you.
Arrange a range & stove visit
Two short steps. No cost and no obligation to book.
- Answered 24/7
- 3-hour arrival window
- Price approved first